This DIY skincare advent calendar makes a perfect gift for the skincare lover in your life. Get creative, have fun with the wrapping and decorating, and enjoy the process of making this holiday tradition truly your own. Here’s a step-by-step guide to creating your own skincare advent calendar that’s both beautiful and full of surprises.
What You’ll Need:
- Small skincare samples: Choose travel-sized products or minis from your favorite brands. Look for serums, moisturizers, oils, masks, or eye creams.
- A few full-sized products: Add in a few full size products, like a good-quality face mask, a luxurious moisturizer, or a nice serum.
- Wrapping paper: Solid color paper works beautifully for wrapping the individual items. Pick colors that complement each other or go for a holiday-themed palette—red, green, white, and silver are always festive choices.
- Markers: You’ll need a permanent marker or pen for numbering the packages from 1 to 12 (or all the way to 24 if you’re doing a full month).
- A large box: Find a sturdy box large enough to hold all the smaller wrapped boxes. You can also use a wooden box, basket, or even a decorative container if you prefer something more creative.
- Ribbons or twine (optional): For an extra touch, use ribbons or twine to tie each individual box, making each day even more special.
Step 1: Gather Your Skincare Goodies
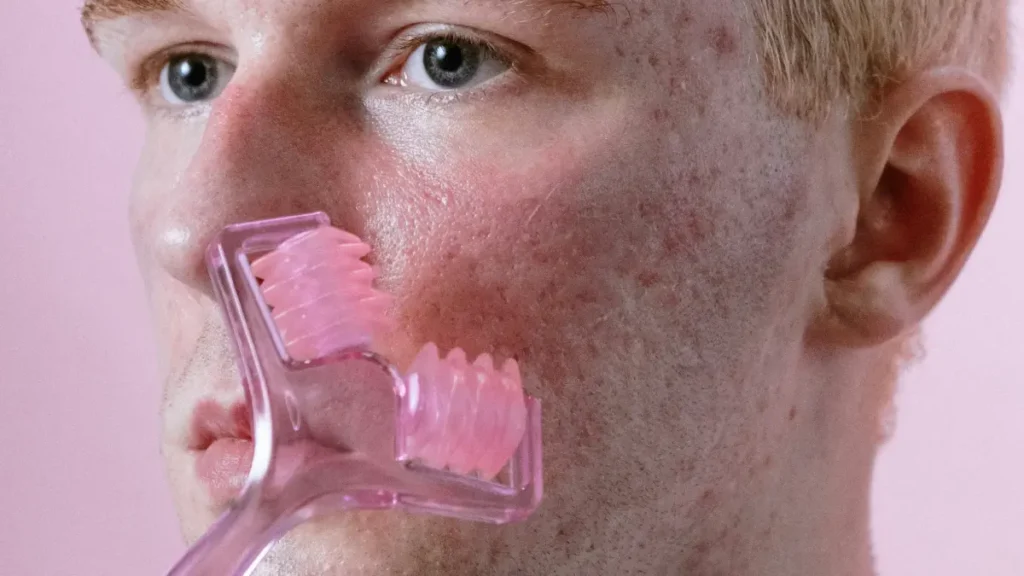
Start by choosing a mix of skincare products that will add value to each day. Include some essentials like a gentle cleanser or moisturizer, but also add a few fun, indulgent items like a sheet mask, a facial roller, or lip balms. You can purchase a set of small skincare samples from your favorite brands or opt for trial-size versions of your go-to products. The goal is to create a balance of treats, so each day feels like a little luxury.
Step 2: Wrap Each Item
Once you have your skincare products, it’s time to wrap them up! Use solid-colored wrapping paper for a chic, uniform look. Wrap each product individually and label it with a number from 1 to 12 (or up to 24 if you prefer the full holiday countdown). You can use washi tape or just a marker to number each package.
For a fun extra touch, consider adding ribbons or twine around each box. A simple bow can elevate the look of the calendar and give it a beautiful, hand-crafted feel. You could also use festive holiday-themed ribbons to add a more cheerful, seasonal look.
Step 3: Add Extras
In addition to skincare products, don’t forget to add a few small extras to surprise and delight. You can include a skincare headband for applying face masks, cute hair clips for styling, a lip balm for winter hydration, or even a mini facial roller for a soothing massage. These little additions will make the calendar feel like a self-care ritual that goes beyond just skincare.
Step 4: Store the Wrapped Boxes
Now that your skincare goodies are all wrapped up, it’s time to arrange them in a large box. Choose a sturdy box—a plain cardboard box works well, and can be painted with a festive design. If you want something more decorative, opt for a basket or a wooden crate. The boxes should fit neatly inside the larger one, but feel free to get creative with how you display them.
Step 5: Get Inspired
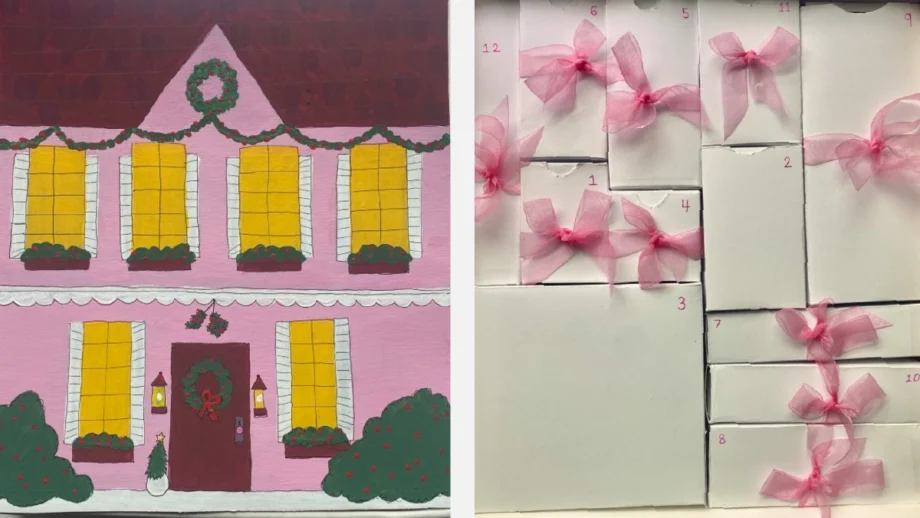
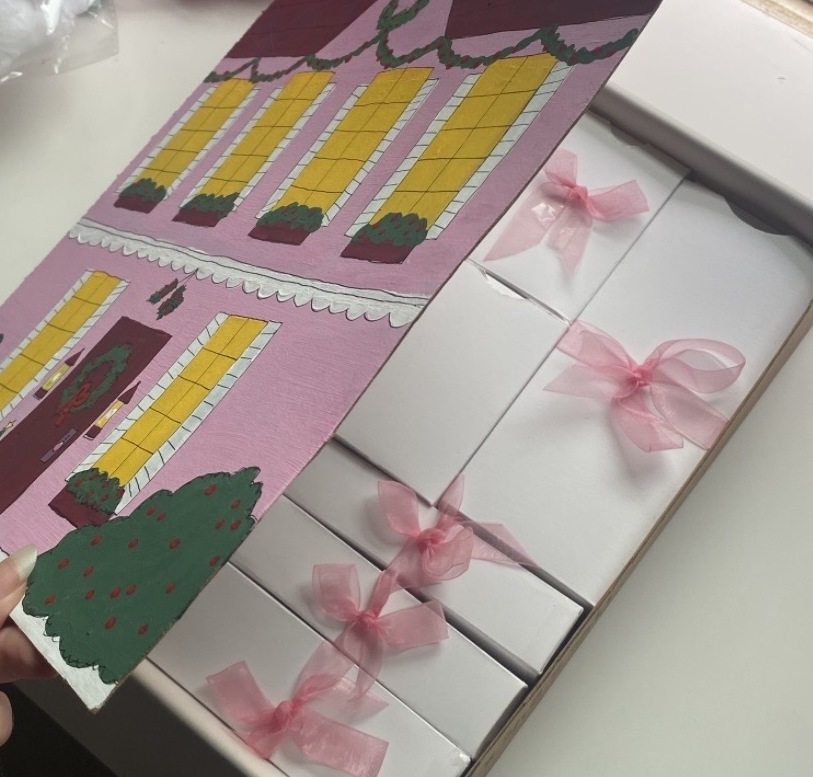
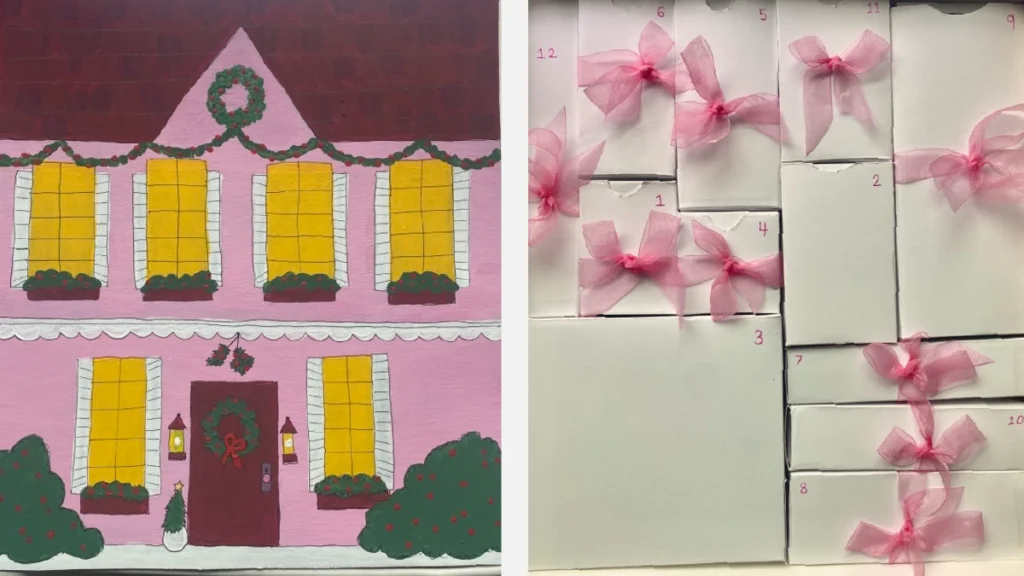
Need some inspiration for your calendar? Check out our example skincare advent calendar for ideas on how to curate and wrap your boxes. Our calendar uses plain white wrapping paper & pink bows for a little extra flair. We also painted the outside of the cardboard box to resemble a cute decorated house (a popular theme for advent calendars). We then cut the top of the box on three sides so it can be opened and closed.
Get creative, have fun with the wrapping and decorating, and enjoy the process of making this holiday tradition truly your own!
This article is brought to you by
Learn More ⭢
